
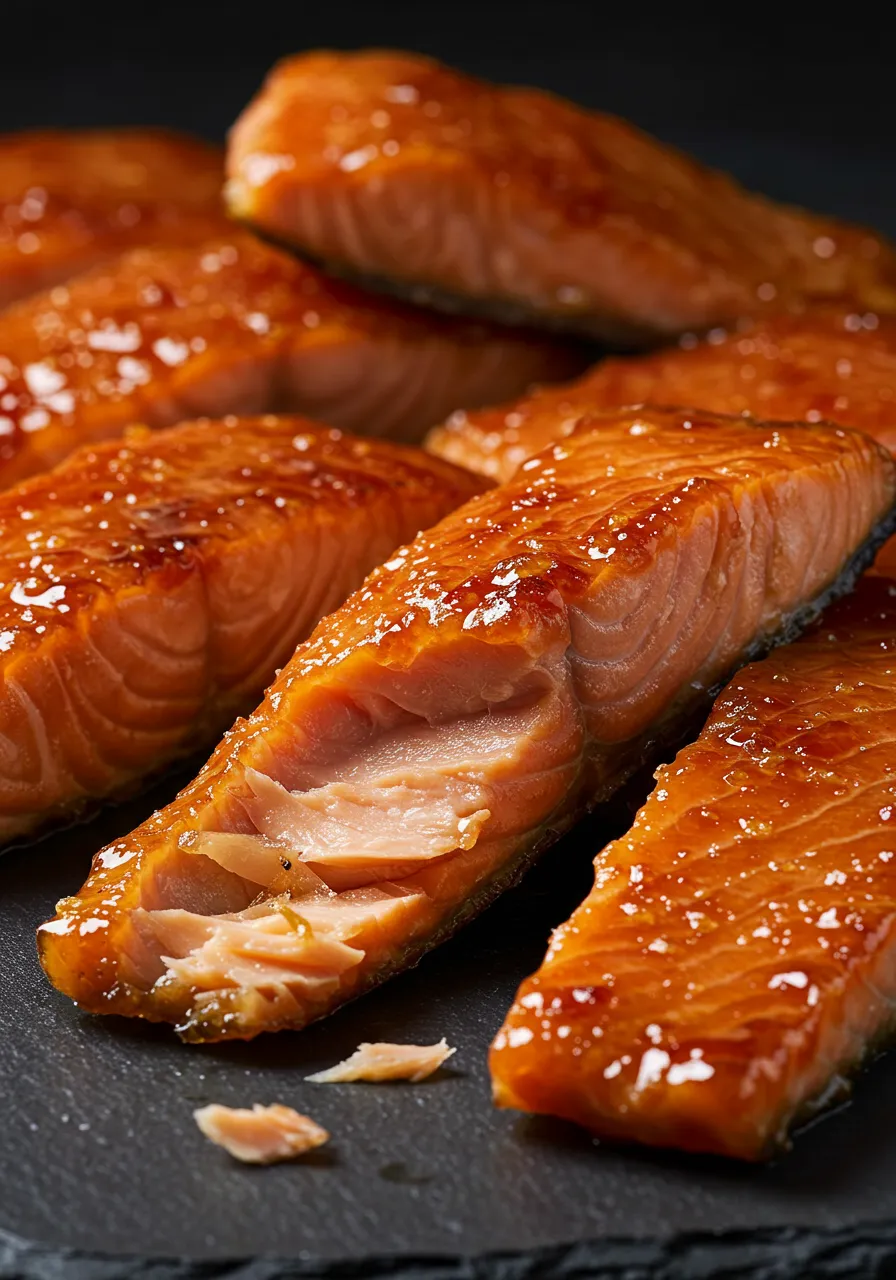
This isn’t just another post; it’s the ultimate candied salmon recipe, a method for creating flawlessly sweet, smoky, and tender smoked salmon candy, every single time. Forget salmon that’s too dry, too salty, or lacks that signature glossy sheen. This is the ultimate guide, blending science with simplicity to guarantee pro-level results. After testing over a dozen different methods, we’ve perfected a technique that combines the best of dry and wet brining for maximum flavor and perfect texture. This is the only candied salmon recipe you will ever need.
Foundations: The 3 Keys to Salmon Candy Succes
Before we light the smoker, understanding why certain steps are crucial is the key to mastering this craft. Success in any candied salmon recipe boils down to three core pillars: the fish, the brine, and the smoke.
Key #1: Choosing Your Salmon
The type of salmon you choose has the biggest impact on the final texture and richness of your candied salmon. A great candied salmon recipe starts with the right cut of fish.
- King (Chinook) Salmon: The king for a reason. Its high fat content makes it incredibly rich and forgiving. The fat renders during the slow smoke, keeping the fish moist and tender. This is our top recommendation for this recipe.
- Sockeye (Red) Salmon: A fantastic, leaner option. It has a firmer texture and a deeper, more pronounced salmon flavor. It makes a slightly chewier salmon jerky recipe style of candy.
- Coho (Silver) Salmon: A happy medium. It has a moderate fat content and a delicate flavor, making it a versatile choice.
Here’s a quick comparison to help you decide:
| Salmon Type | Fat Content | Final Texture | Cost |
| King | High | Very Tender, Rich | $$$ |
| Sockeye | Low | Firmer, Chewier | $$ |
| Coho | Medium | Tender, Flaky | $$ |
Key #2: The Science of the Brine
The brine is where the magic happens in this candied salmon recipe. A perfect brine does two things: it preserves the fish and it infuses it with flavor. Here’s the science, simplified:
- Salt: Through osmosis, salt draws moisture out of the salmon. This firms up the flesh and is the first step in preservation.
- Sugar: While salt pushes water out, sugar does the opposite. It helps the salmon retain moisture during the smoking process and, of course, gives candied salmon its signature sweetness.
Our method uses a “low-moisture” brine. Instead of dissolving our salt and sugar in water, we use maple syrup and soy sauce. This creates a concentrated, flavor-packed slurry that penetrates the fish without making it waterlogged, resulting in a more intense flavor.
Key #3: Wood Smoke & Temperature Control
This isn’t a race. The mantra for a perfect smoked salmon candy recipe is “low and slow.” A low temperature allows the fat to render slowly and the smoke to gently permeate the fish without cooking it too quickly and drying it out.
- Recommended Wood: Alder is the classic, traditional choice for salmon, providing a delicate, slightly sweet smoke that complements the fish perfectly. Fruitwoods like apple or cherry are also excellent choices.
- Woods to Avoid: Avoid aggressive woods like hickory or mesquite. Their powerful flavors will completely overpower the delicate taste of the salmon.
The Recipe: A Step-by-Step Visual Guide
Now for the part you’ve been waiting for: the full step-by-step candied salmon recipe.
- Prep time: 25 minutes
- Brine time: 8-12 hours
- Cook time: 4 hours
- Total time: ~16 hours
- Servings: 8
- Calories: Approx. 350 kcal per serving
Ingredients
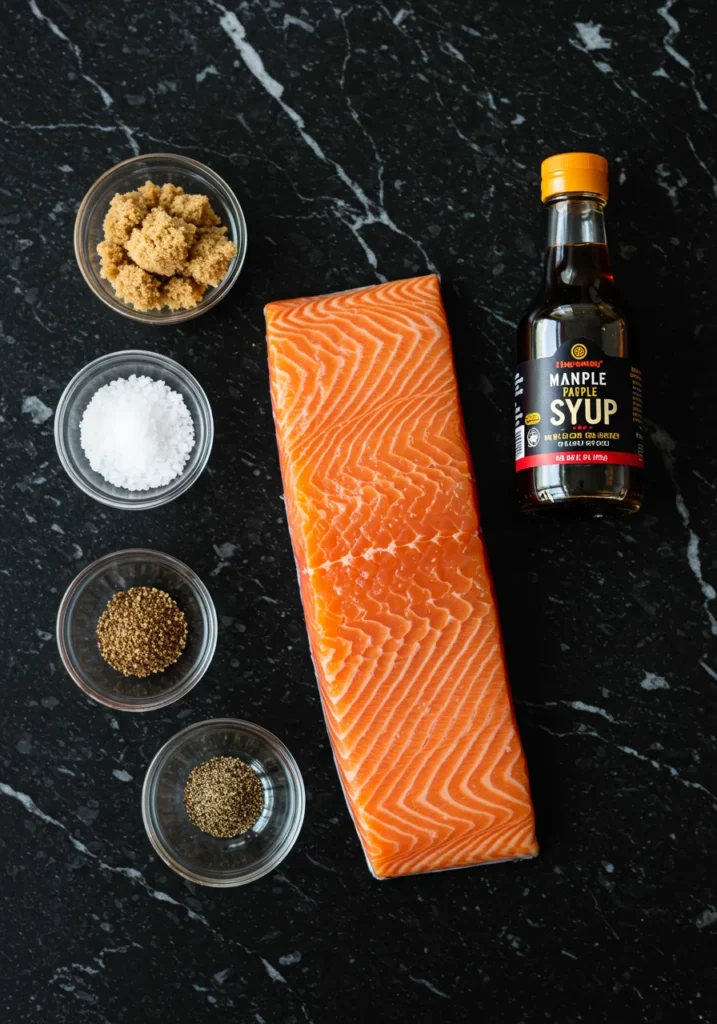
- For the Salmon:
- 2 lbs King Salmon, skin off, pin bones removed
- For the Brine:
- 1/2 cup coarse sea salt
- 1 cup dark brown sugar, packed
- 1/2 cup pure maple syrup
- 1/4 cup soy sauce (or tamari for gluten-free)
- 1 tbsp black pepper, freshly cracked
- 1 tbsp garlic powder
Equipment
- Smoker (or grill set up for smoking)
- Alder or apple wood chips/pucks
- Large, non-reactive dish (glass or ceramic)
- Wire rack
- Baking sheet
- Instant-read thermometer
The Process: From Raw to Candy
Follow these steps precisely. This is the core process of our foolproof candied salmon recipe that guarantees success.
Step 1: Preparing the Salmon
(Visual: A photo showing a large salmon fillet being cut into uniform 1-inch thick strips against the grain.)
First, ensure all pin bones have been removed. Slice the salmon against the grain into uniform strips, about 1 to 1.5 inches wide. Uniformity is key here; it ensures every piece brines and smokes evenly.
Step 2: Mixing the Brine
(Visual: A GIF showing the salt, brown sugar, maple syrup, and other brine ingredients being whisked together in a glass bowl until a thick slurry forms.)
In your non-reactive bowl, combine the brine ingredients. Whisk vigorously until the salt and sugar are mostly dissolved and you have a thick, syrupy brine.
Step 3: The Brine
(Visual: A photo of the salmon strips being placed in the brine, then gently tossed to ensure every surface is completely coated.)
Add the salmon strips to the brine and toss to coat every piece. Cover and refrigerate for 8 to 12 hours. For richer King salmon, aim for 8 hours. For leaner Sockeye, you can go closer to 12.
Step 4: Rinsing and Drying
(Visual: A quick video showing the brined salmon strips being rinsed one by one under a gentle stream of cold water.)
Remove the salmon from the brine and rinse each piece individually under cold, running water to remove the excess surface brine. Pat each piece completely dry with paper towels.
Step 5: Forming the Pellicle (THE MOST IMPORTANT STEP)
(Visual: A close-up shot of the salmon strips on a wire rack, showing their tacky, matte, non-wet surface—a perfect pellicle.)
Place the dried salmon strips on a wire rack over a baking sheet and refrigerate, uncovered, for 2 to 4 hours. This develops a sticky layer called a pellicle. This is the secret to this candied salmon recipe; it’s what the smoke adheres to, creating the classic texture and color. Do not skip this step!
Step 6: The Smoke
(Visual: A wide shot of the salmon strips neatly arranged on the smoker grates, with wisps of thin, blue smoke in the background.)
Preheat your smoker to a temperature between 150−175°F (65−80°C). Arrange the salmon strips on the smoker grates, leaving space for air circulation. Add your wood and smoke for 2 hours.
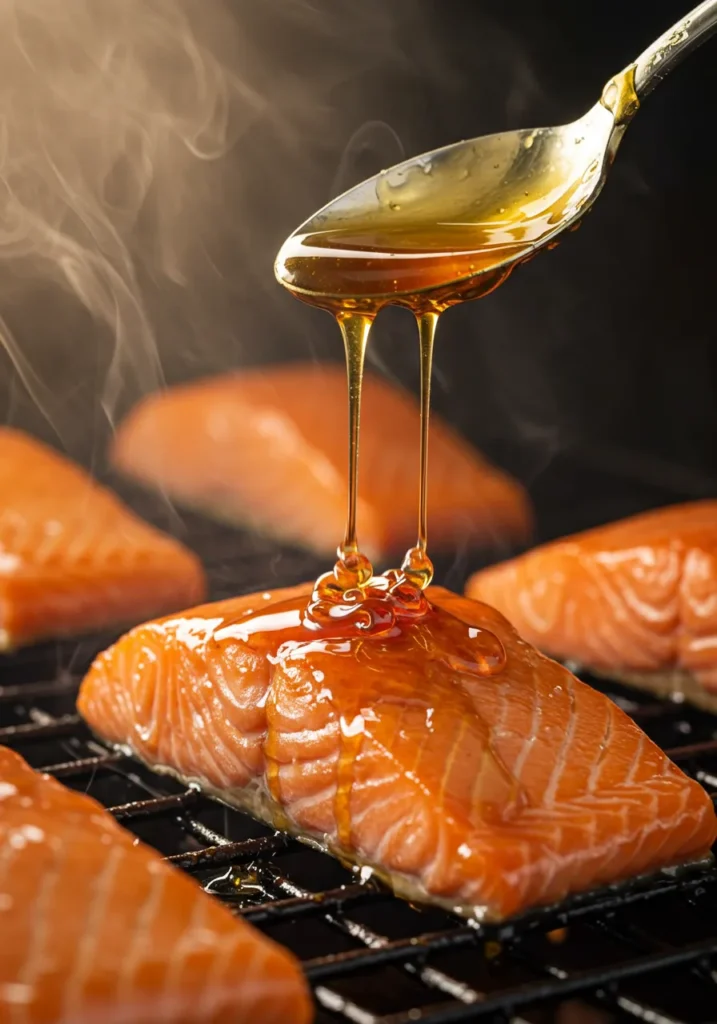
Step 7: The Glaze
(Visual: A photo of a hand brushing pure maple syrup onto the salmon pieces mid-smoke, making them glisten.)
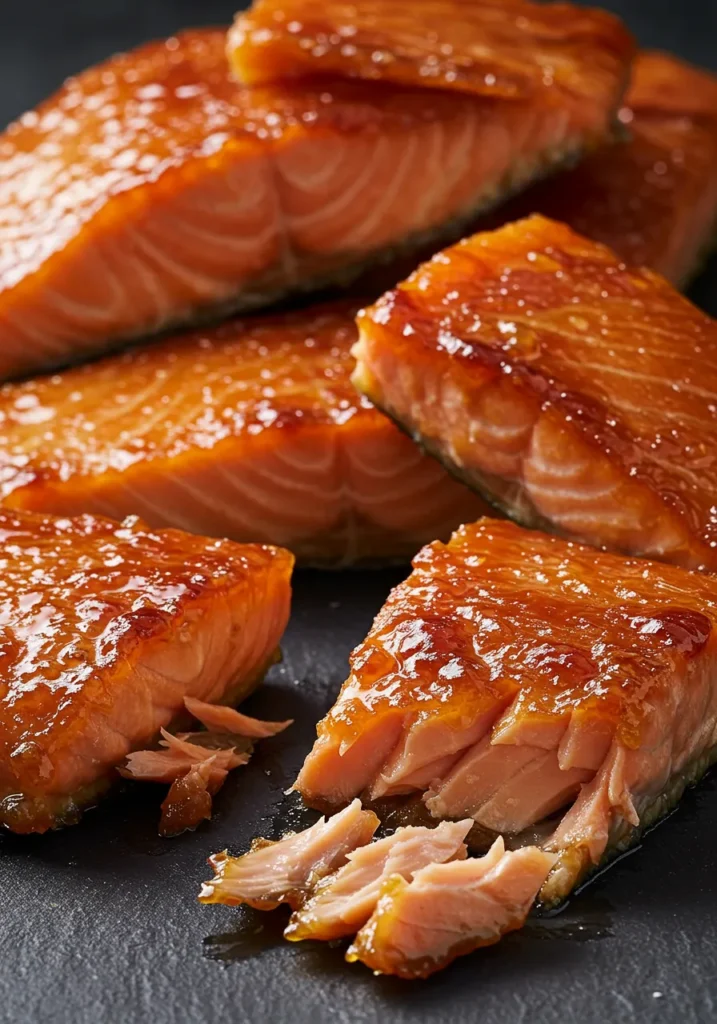
After 2 hours, begin building the “candy” layer. Lightly baste each piece with pure maple syrup. This is what gives the smoked salmon candy its signature glossy exterior. Continue to smoke, basting every 45 minutes.
Step 8: Finishing
(Visual: A shot of an instant-read thermometer being inserted into the thickest part of a salmon piece, reading 140°F.)
The salmon is done when it’s firm, has a deep reddish-orange color, and the internal temperature reaches 140°F (60°C). Total smoke time will be around 4 hours. Let it cool completely.
Storing, Serving, and Troubleshooting (FAQ Section)
How do I store candied salmon?
Store your finished candied salmon in an airtight container or vacuum-sealed bag. It will last in the refrigerator for up to 2 weeks or in the freezer for up to 3 months.
Can I make this in an oven?
Yes, you can adapt this candied salmon recipe for an oven. Follow all the brining and pellicle steps. Add 1/2 teaspoon of liquid smoke to the brine to mimic the flavor. Bake at your oven’s lowest temperature, ideally 175−200°F (80−95°C), for 2-3 hours, glazing as directed, until the fish reaches an internal temp of 140°F (60°C).
My salmon is too salty, what did I do wrong?
This is the most common issue people face when trying a new candied salmon recipe. It usually means you either brined it for too long or didn’t rinse it thoroughly enough. For your next batch, reduce the brine time and give each piece a good rinse under cold water.
What if I don’t have a smoker?
You can use a standard kettle grill. Set it up for indirect heat with charcoal on one side and a water pan on the other. Add soaked wood chips to the coals and place your salmon on the grate over the water pan, monitoring the temperature closely.
Conclusion & Share Your Success
By focusing on the three keys—uniform pieces, a balanced brine, and patient temperature control—you’ve unlocked the secret to a perfect batch of homemade candied salmon. Following the steps for developing the pellicle is what makes this candied salmon recipe truly foolproof.
Now it’s your turn. Did you make this smoked salmon candy recipe? Leave a comment below and let us know how it turned out. We’d love to see your results, so tag us on Instagram with a photo of your masterpiece!
Did You Try Our Recipe?
There are no reviews yet. Be the first one to write one.